Assignments on GitHub
Now we'll build a set of pre-constructed assignments and notes for each JupyterHub user. We'll save these assignments and notes to a GitHub repo.
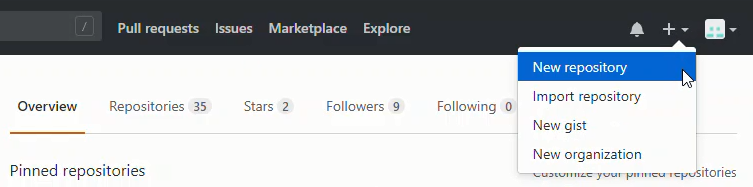
Create a repo of assignments on GitHub.com
Log onto to GitHub.com, and create a new repo with the notes and assignments for the quarter.
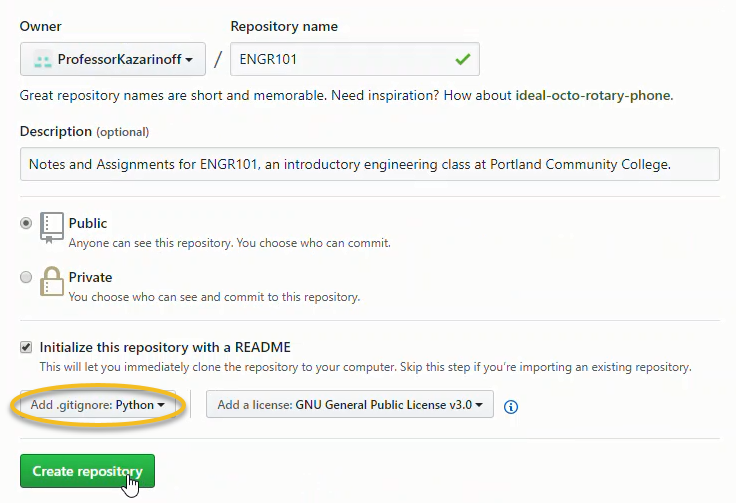
Make sure to select [Add .gitignore Python] and select a license.
Pull the repo down from GitHub.com to the local computer
On a local computer, not the server, clone the GitHub repo. This allows us to work on the notes and assignments locally.
# local computer
$ mkdir ENGR101
$ cd ENGR101
$ git init
$ git remote add origin https://github.com/username/reponame.git
$ git pull origin master
Create the assignments and notes
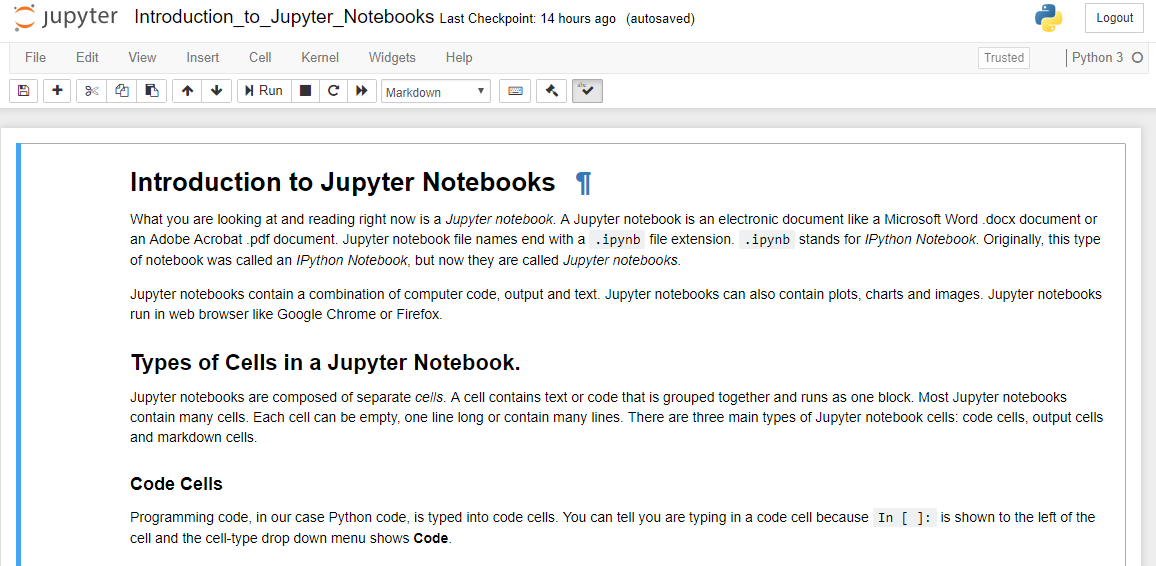
On the local computer, not the server, build the assignment and notes for the quarter. I did this using Jupyter notebooks.
Save all of the changes locally. Add any files that you don't want students to see to .gitignore.
Push the completed assignments and notes up to GiHub
Finally, add, commit, and push the changes up to GitHub.
# local computer
$ git add .
$ commit -m "added assignments and notes"
$ git push origin master
Summary
In this section, we built a set of notes and assignments for the quarter on GitHub. First a new repo was created on GitHub.com. A .gitignore file corresponding to Python and a license were added to the repo when the repo was created. Next we pulled to repo down to our local computer and built the assignments and notes. Finally we pushed the changes up to Github.
Next Steps
Next, we'll use a JupyterHub extension called nbgitpuller which copies the notes and assignments we just saved to GitHub into each students home folder when they log into JupyterHub.